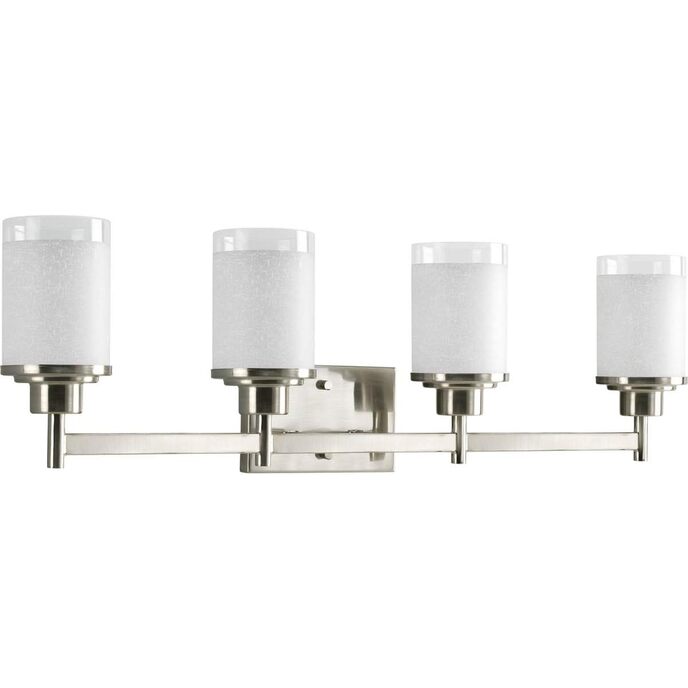
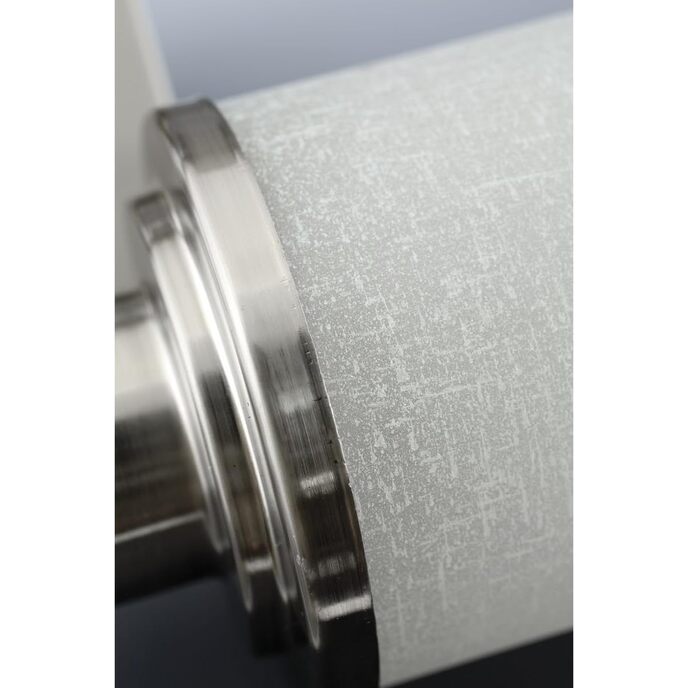
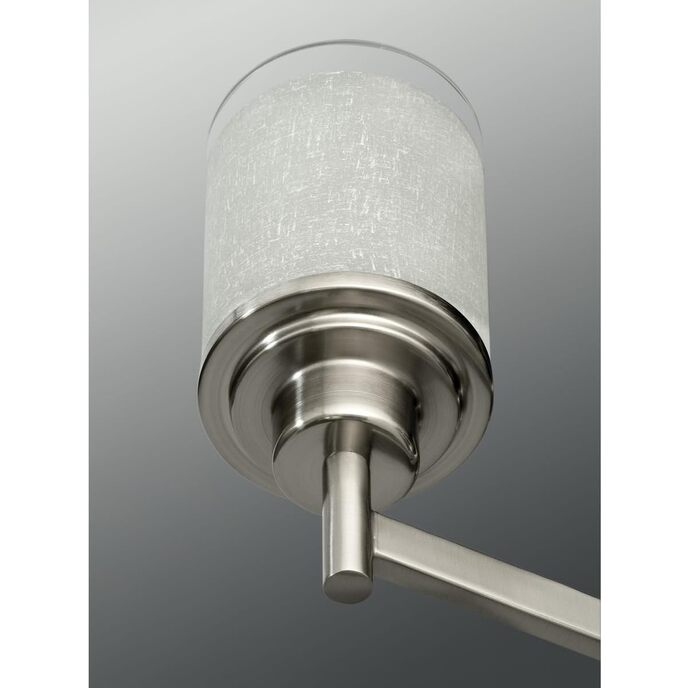
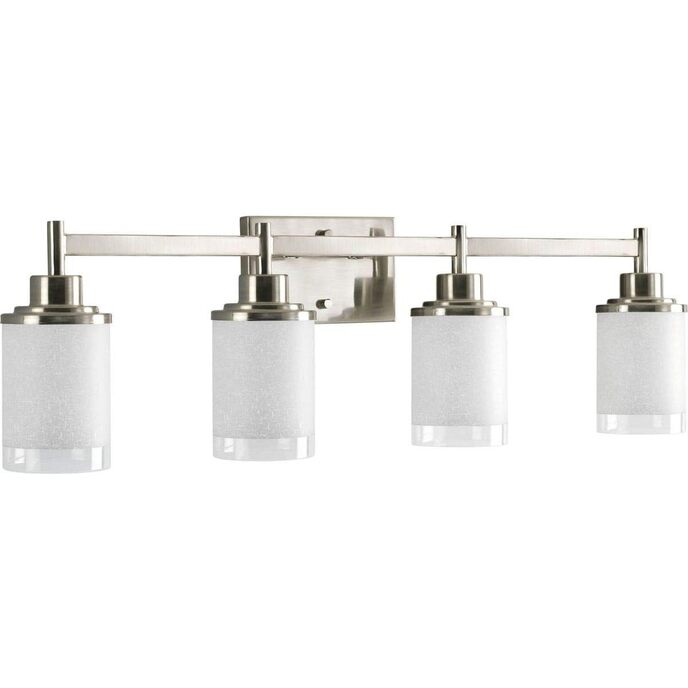
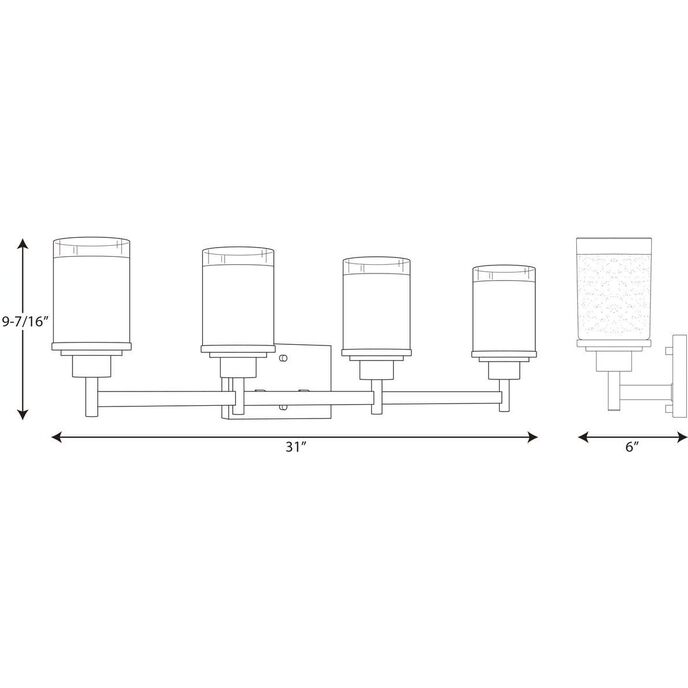
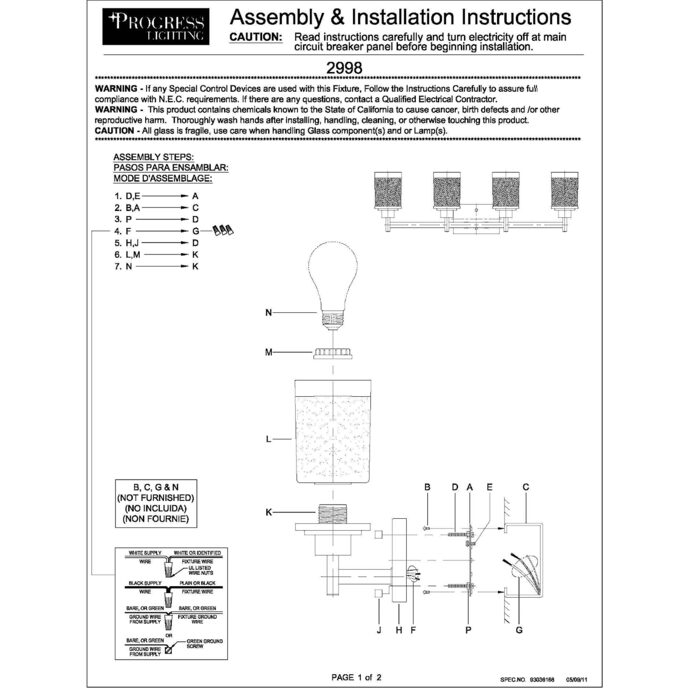
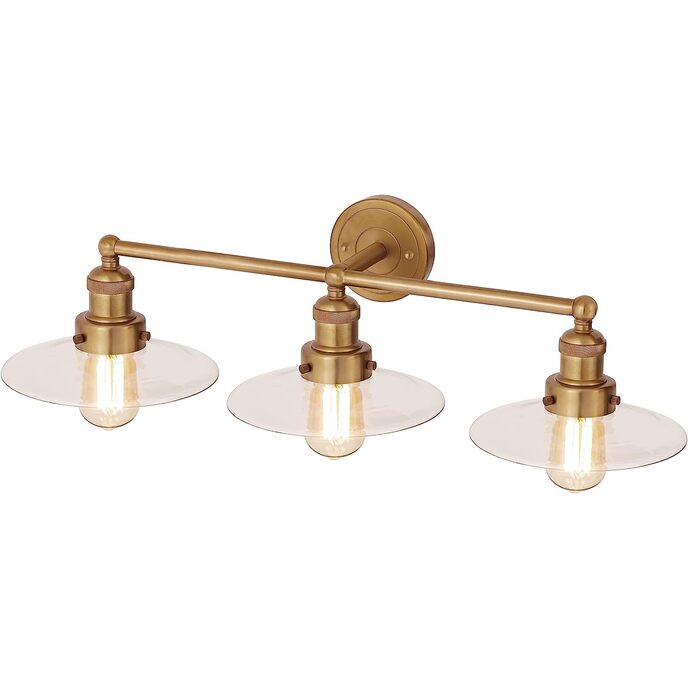
First off, I'll say the quality of material is great. Heavy glass, looks nice, and the metal is heavy duty and solid. So why 3 stars? Mine came with the two end pieces bent, so the globes don't sit straight. Because it's pretty solid, it was difficult to adjust them, and I was a bit concerned about breaking them, so if you really look close, one of the end pieces is crooked. I can live with that, but the real problem with these was the install. I have installed/replaced almost every light and fan in my home, this was by far the worst. 1) The instructions are useless, so just throw them out. Sorry, throw the single diagram out that has no words on it. They show a side view of where screws go, generally, and well let's just say that by the 5th attempt at picking the dangling fixture (held by wires) up, finding that the screws don't line up, and having to take the entire wall plate back off, remove the screws, and try another hole (or 2) for the 3rd time, you've spent quite a bit of time standing on your sink cabinetry (in my case). In hindsight, I would do a trial run first, put the screws in the plate (hint, they go in 2 of the 8 inner holes, which is not obvious as you might think, because there are enlarged adjustment holes that you would think the screws go into so you can adjust the fixture to be straight, but apparently you use those in the outer holes (which also has normal non adjustable holes, which is what you would normally screw into the light box, don't ask me...)), make sure the plate fits into the fixture and is not offset, then hang the plate. Then connect the wires. I just made the mistake of thinking the included diagram would be correct or that the install would be fairly standard. Neither is true. 2) No screws were included to connect the wall plate to the wall's light box. No problem because I had a couple of those lying around elsewhere. Then I just had to spend 15 minutes trying to figure out which holes to put them in by trial and error. 3) The included screws to mount the fixture to the wall plate were too long. Literally, I can't see an application where this fixture would mount flush to the wall with the screws I was given. I had to place 6 washers on the back of each screw, screw them in through the back of the wallplate, place the fixture on, then screw the caps on. If you just put the screw through the wallplate, put the nut on, then put the fixture on, the caps will screw on with about 1/4 to 1/2 inch of room left, making the fixture hang forward away from the wall. Unfortunately, since I added 6 washers (no other choice but to cut the screws), the backs of the screws then hit something inside the light box, and caused the wall plate to stick out further on top than bottom. 4) The way you put the included screws to mount the fixture to the wall plate is to screw them in from the back of the wallplate so they stick through to the front, then screw a nut onto the screw on the front of the wallplate. Next, you place the fixture, and then when you try to put a cap on the screw, unfortunately due to the laws of screw mechanics, you twist the screw back out of the back of the wallplate, and therefore can't put the cap on the screw (easily). So you have to tighten that nut down extrememly tight and hope for success. It took 3 tightenings to get the screw to stop slipping when I put the cap on. Mind you, I'm putting the heavy fixture up, taking it down, putting it up, taking it down. As an electrical engineer, I'm appalled by this design at this price. The instructions and wallplate design were clearly thrown together or done by someone who just didn't care. Again, I like the fixture itself, though it is crooked vertically because I just didn't care anymore, but I won't be buying another unit from Progress. This costs too much to deal with this headache that a simple diagram with some step by step instructions could have alleviated (oh and proper screws).